I’ve been working on the final steps in preparing the bonnet assemblies for these two cabinets. The bonnet provides a visual way to ‘crown’ the cabinets, so they don’t end up looking simply like a pair of boxes on stands. It’s an unnecessary thing from a functional perspective to fit bonnets, but vey much a necessary thing, it seems to me, from an aesthetic one. This is where I leave minimalist/modern behind, not that I even see eye to eye with it anyhow.
If I remove the bonnet from the composition, something seems missing, and not in a good way. It’s not shibui, it’s simply incomplete: something is lacking.
I did tone down the lines of the bonnet top beams, as detailed in an earlier post, and what I was left with was a raised section on of framing on a shedua stand off, and there was as a result a bit room in there for a storage compartment. "Oooh, a hidden compartment" raises now into a specter of the possible.
The thing is, while concealed compartments at one time served a necessary security function - in the case of early American secretary cabinets, for example - or, in the case of pieces made by the Roentgen’s for French nobility, an entertainment function, when it comes down to what makes sense today, it was less a fixation on a secret compartment than it was on having a discrete compartment. This is a compartment which is not entirely obvious to view, though if you went looking for it (what kind of nut bar does that but a furniture maker?) the access would be obvious enough.
I didn’t want some sort of obsession with secrecy to affect the aesthetics of the cabinets, or to become a central idea of the cabinets, or to require any complex means to achieve realization. Just wanted to make use of available space in a practical manner, and wanted to create a space where things might be tucked away, requiring only occasional access, perhaps got at once in a while for the fun of it. This made more sense to me than the 'secrecy’ aspect. If you truly want to hide stuff away from those who might pry, then get yerself a heavy duty iron safe with some complex lock, and make it clear to view (then hide your stuff elsewhere, perhaps, thus providing a fake target with the safe (?)).
Anyway, I wanted a compartment with a removable lid, and wanted to have the lid openable by simple means, and, oh yeah, all parts in solid wood. A lid in bubinga, keeping it decently thin, still ends up being a bit of a lump. So, working out a catch mechanism took some mulling over to be sure.
I thought I had worked out a good solution and then spent a day and a half milling up some mounting blocks in brass. This was the result:

I’ve learned a bunch about milling brass in the past few days.
A closer look at one of the temporarily-clamped side-mounted blocks, with the fitted spring pusher mechanism:

That set up proved the basic concept of catch paired with two blocks and sprung pushers did work, however further consideration let me to conclude that the system may not be the best over time: I was worried that the constant pressure of the sprung pushers on each corner of the lid, relative to the catch in the middle, might, over time, induce the lid to become deformed. It was enough of a concern to lead to the scrapping of the above machined brass blocks.
So, out with that, setting aside the fallacy of sunk costs and all that, and onto the Mark II design, which incorporated both catch and spring pushers into one wooden block.
Here, I’m tapping for the M12 threads required for the sprung pushers, using a center punch in the chuck to keep the tap handle plumb:

As you can see, an insert (¼" x 20TPI) had already been fitted in the middle.
The completed mounting blocks:

The spring pushers are a device from the CNC fixturing world, and are from Misumi USA. They are good to deal with.
I also obtained the tool to screw the pushers into place:

In the middle is the pointed marking pin which had served duty earlier with the bifold doors. It’s nice to find it useful again….
These are the second set of spring pushers I had to obtain. They come in four strengths of spring, and the first set proved to be too weak.
A while later, I have mounted one of the blocks to the inside of the compartment using inch-scale stainless fasteners, namely #10-24 Allen cap screws:

One of the quirky things about inch scale bolts arises when you go below ¼" in size. Unlike metric, where everything is on a even round 1mm incremental pattern, like 10mm-8mm-6mm-5mm-4mm-3mm, etc., with inch scale, it’s a tad more complicated. While larger sizes of bolts from 5/8" down are on even 1/16" increments, stepping along 5/8"-9/16"-½"-7/16"-3/8"-5/16"-¼", when you go below that ¼" mark you do not arrive at the next 1/16" division (3/16") as might be expected: suddenly it switches to a #12x24TPI designation. That #12, however, is an uncommon size, and the next regular sort of size you come across at the hardware store is #10-24TPI. And #10 is not exactly 3/16" (0.1875"), but a hair larger at 0.1900". Hah-hah-hah….. Take another drink Jim.
It’s one of those weird things, which, if you are 'used’ to it, is not terribly consequential - you go to the hardware store and find the appropriate fastener which fits what you need - however if you are not used to it, being used to, say, the metric system, this standard will seem baffling and illogical, maybe ripe for a suitable amount of derision even. I understand, and please feel free to refrain from extended soliloquies in the comment section relative to this point. I get it. I didn’t create this system, I merely live within it, and a little kookiness is okay I guess, keeping poor blighters like me on my toes at the very least.
When you dig into it, you find that threads which are smaller than ¼" are defined by wire gauge standards, and the sizing is based on a sweet l'il formula:
The following formula is used to calculate the major diameter of a numbered screw greater than or equal to 0: Major diameter = Screw # × 0.013 in + 0.060 in. For example, a number 10 calculates as: #10 × 0.013 in + 0.060 in = 0.190 in major diameter. To calculate the major diameter of “ought” size screws count the number of extra 0’s and multiply this number by .013 and subtract from .060. For example the major diameter of a 0000 screw thread is .060 – (3 x .013) = .060-.039 = .021 inches.Okay, you can wake up now. The above quote is from the wikipedia entry on the Unified Thread Standard. I chuckle as I read it. Some things in technological societies get fossilized while some do not, what can you say?

Once the location is marked, I could proceed to mortise for the catch using a couple of different forstner bits:

The underside of the board is similarly mortised, and the catch is secured by a fairly large brass nut:

The catch itself is a custom made piece from Quik-latch products - they make latches designed to hold the hoods of hot rods down at the front. I did extensive research to find something suitable, and this turned out to be the best thing I could find - and I am more than happy with the product.
Quik-latches are normally made in aluminum or steel, however at the time I got in touch with them they were in the middle of fulfilling a large order from a Scandinavian furniture company for a series of door latches in brass, and they were able to make me a set in a few days, also from brass. They sent me the 'mini’ latches in parts, and I patinated them, sent the pieces back for assembly and then the complete units were delivered a week or two later. Quik-latch is one of the best companies I have ever dealt with in all my life: excellent, prompt communication, a 'can-do’ attitude somewhat rare to find these days, and an excellent product shipped in a timely manner. Was it a weird dream, I wonder? All the same, highly recommended!
Here’s a closer look at the latch and its ¼"-20 pin, with the catch itself flipped upside-down:

The rod engages with a satisfying snap!:

Another view show how tolerant the latch is of misalignment:

Here’s the Quik-latch installed and about to be closed for the first time:

'Click’:

This mechanism worked just as I had hoped, providing a discrete means of accessing the upper compartment in the bonnet:

I later added a small relief cut to provide easier purchase for the fingertips:


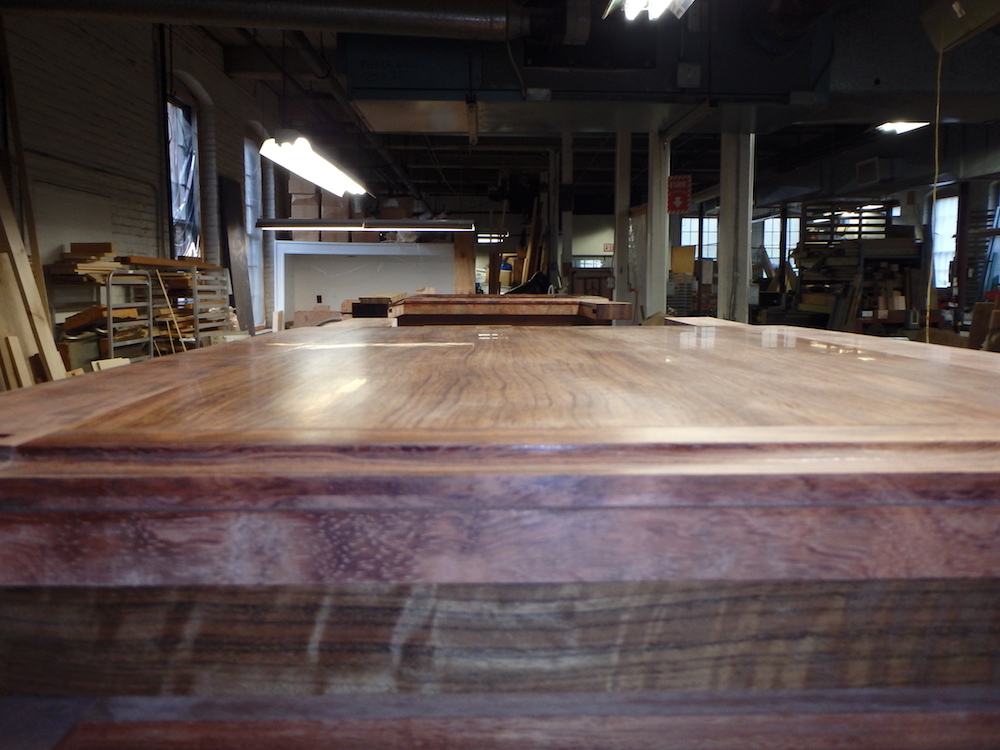
A few views of the top with the latch installed, and in order to see this view in the completed cabinet you would need to stand 6’-8" or more (203cm):

All for this round. The second cabinet is about half an hour away from reaching the same stage, and then I will be doing the final assembly on the bonnet and last coat of finish. Then a little more work awaits with the bifold doors as the magnets have now arrived. More to come, so please stay tuned….
via Tumblr https://davidpires578.tumblr.com/post/160213029744
No comments:
Post a Comment