Drawers to make, drawers to make….
The pattern mill has proven its worth once again. With its Mitutoyo linear scales, it’s no problem to place slots and housings with great accuracy, and obtaining accuracy is something for which there is no penalty I do believe.
Here I’m using a down spiral 3/8" (9.52mm) bit to cut the housings for the drawer side tenons:

When all the housings were done, I switched out to a 3/8" up-spiral carbide to excavate the mortises:

These mortises will be squared up to 3/8" square later on by chisel.
A couple of days back, I found a supplier in Connecticut who had some quartersawn 8/4 bubinga, and after coughing up $400 and dragging two boards back to the shop with the help of my friend, the material was broken down by re-saw and crosscut, and left to sit a day. That was followed by jointing and dimensioning the next time I was in the shop, and then the shoulders were taken down on the tenoned ends:
I only just had enough material to obtain the pieces above. If the boards I obtained had been a hair shorter, thinner, or narrower, I would have come up short. Kinda walking a tightrope here….
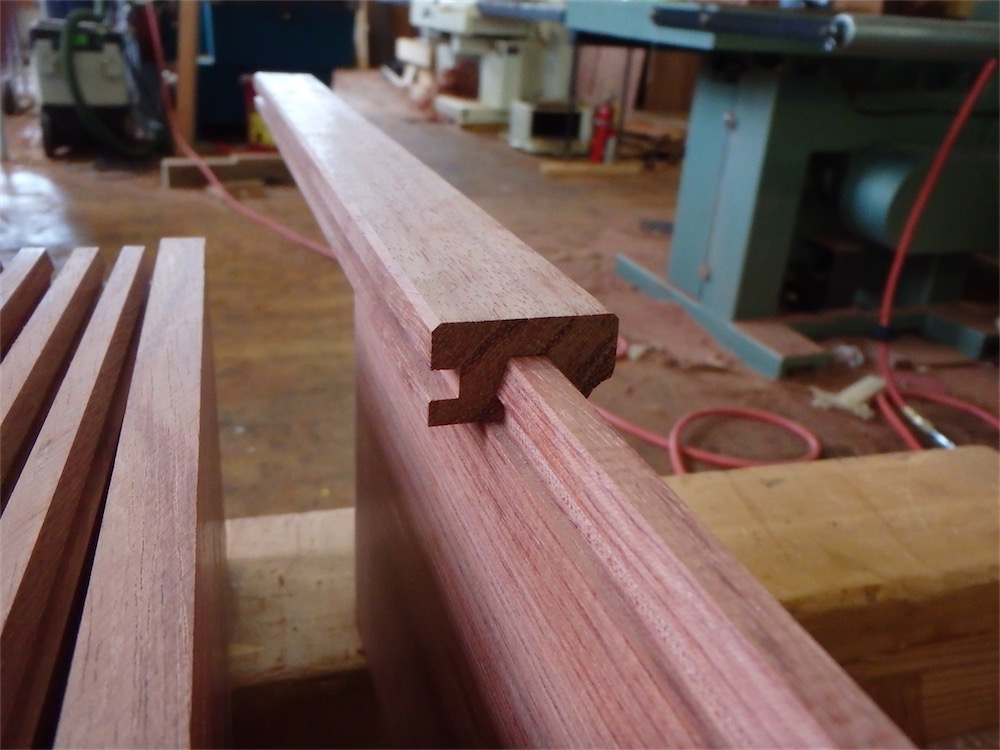
The next step was to cut the male sliding hammerhead connections on the lower edges of the drawer sides. That occupied most of today, and went in a straightforward manner. Here’s the first connected pair of drawer side and runner:

This form of joint is readily adjusted for fit and is not nearly the same wrestle that sliding dovetails can be sometimes - although there are more surfaces, only two abutments are important to a tight join. Here’s another view of the runner sliding into place:
The fit was such that a bit of force was required to slide them together, but no mallet caresses were involved. The fit was fine-adjusted by the same gear with which I cut the sliding hammerheads, along with a finish plane.
Another view:

A look at a mess ‘o hammerheads:

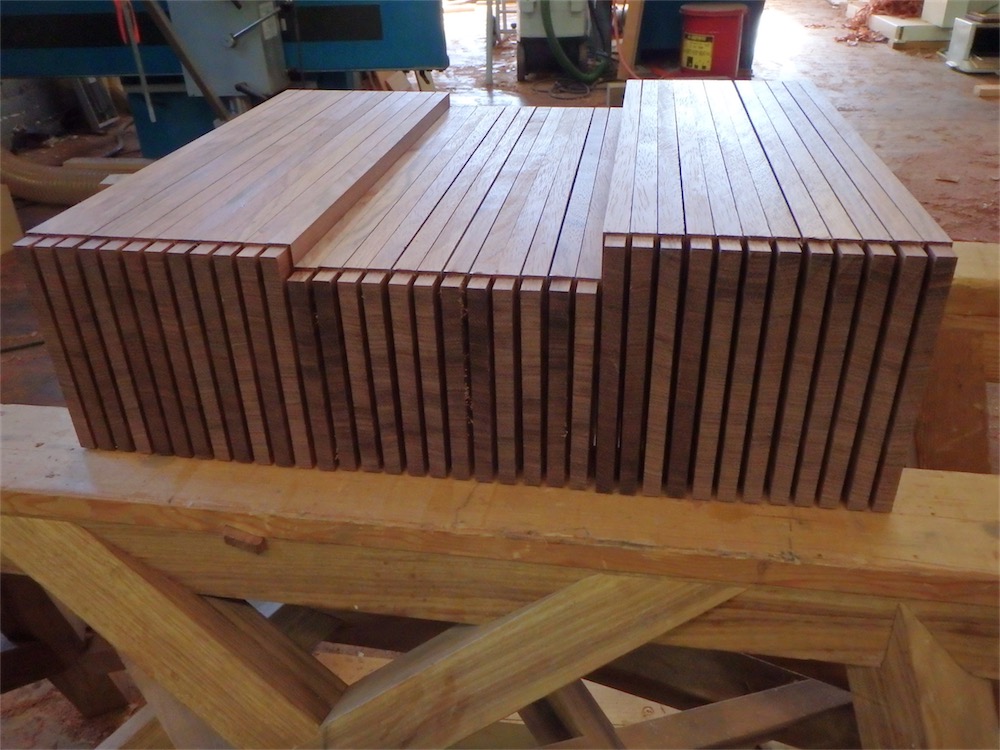
All 36 drawer sides with hammerheads:

Some people like the smell of napalm in the morning, while I like to see stacks of quartersawn material.
A while later, I had fitted all the connections:

A view from the rear of some of the connections:

Close-up:

I was pleased with the way those came out. Again, I had no extra pieces whatsoever, so I could not afford any mistakes. Not normally the best way to roll, but what ya gonna do?
I set those assemblies to one side and returned to work on the drawer fronts, which are of shedua. I had roughed out a relief cut on the front faces, and now it was time to finish the cut out:

The finished surface off of the mill, with a fresh router bit, was excellent:
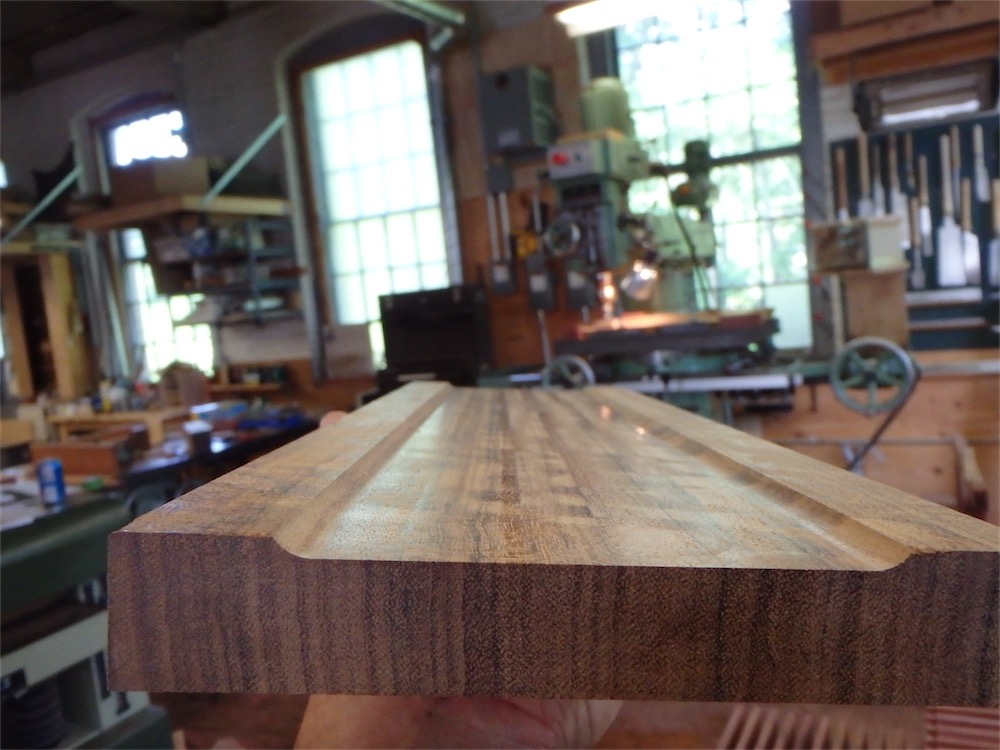
Tricky to photograph:

Shedua tears out so easily I really had my fingers crossed, and the results were better than anticipated. I’m about halfway through that shaping work, but the work day had to end at some point. Tomorrow I’ll finish those fronts off, clean out the mortises on the inside faces, and then fit them to their openings in the carcase. I’ve decided to make the drawer rear walls out of shedua, so I expect to be cutting that material out tomorrow. The drawers are moving along at a good clip.
All for this round - thanks for visiting the Carpentry Way.
via Tumblr http://davidpires578.tumblr.com/post/146387393399
No comments:
Post a Comment