Well, the half-century mark has been reached with posts, and there’s a fair way to go yet. This is the most complex piece of furniture I’ve made yet, so it is eating up the days. Closing in now though on main carcase completion.
After completing some work left over from the previous day -fitting the 2nd lower carcase panel to the 2nd support stand - today’s task was then to deal with the joinery for the two shelf boards in each cabinet. The panels were already finished to thickness, however they remained a bit over-width and length. After a fresh edge jointing and pass through the table saw, they were at width, and the next step was to cut some rebates on the edges so as to leave a tongue.
For this task, I could have used my router table, however the shaper provided a much longer support surface, so I set it up instead. First task was to remove the 1.25" spindle:

After cleaning the spindle bore, the router spindle was then fixed in place:

I went with a CMT top bearing bit, not for the bearing but because it has a shearing cut:

The shaper has a 9000 rpm setting, which works fine for a bit like this.
Then the Aigner fence was set up around the cutter - at this juncture, the right hand fence is not slid in towards the cutter quite far enough yet:

The rebating went smoothly, and after some cross-wise rebating afterwards on one end, the board was fitted to the two upper rails:

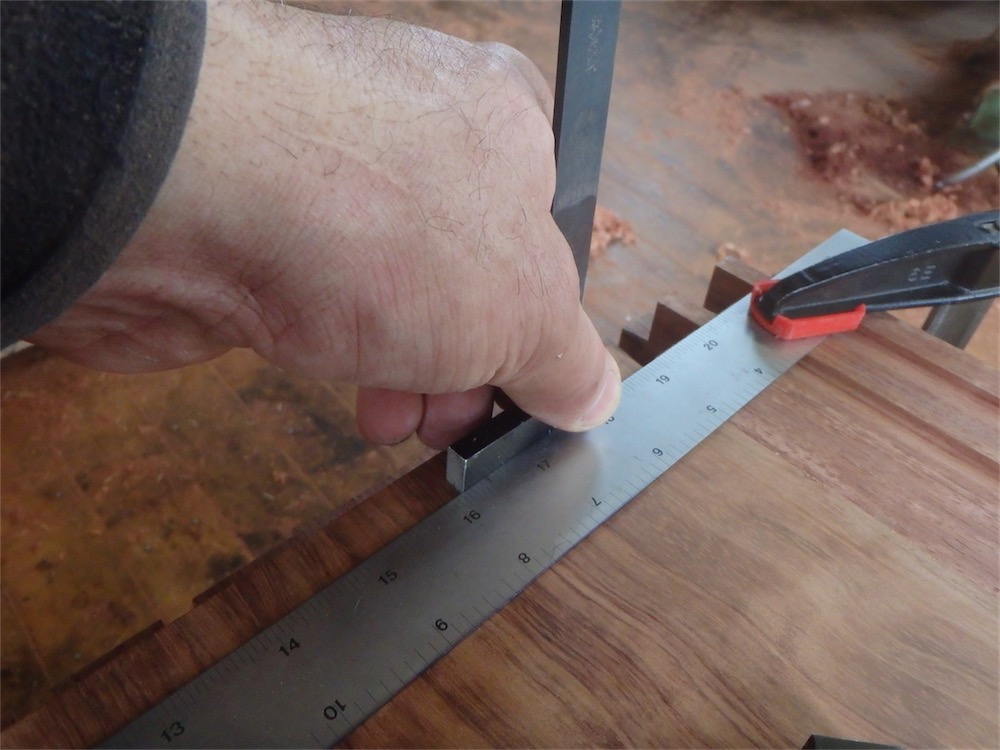
That left one end long. After carefully working to get the two rails aligned with the squared shelf end, I clamped on a guide and knifed the rebate shoulder line on the end of the board:

As the tongue on the ends is 0.25" long, a gage block provided a convenient offset to knife the end cut line:
The result:

The board was then trimmed to the outer line, and rebated to the inner line.
Time now to see if it fits:

A closer look at the junction:

Down:

Seems to be fitting okay.
On the underside of the same shelf panel, a dado was cut to accept the top end of the cabinet’s central compartment divider:

Another view:

I then flipped the assembly around, and laid it down so the shelf assembly was upside-down, so I could place the central divider and see if it might fit:

Started:

Down:

That shelf board has a slight crosswise cup in the middle, and does not sit totally tight there, but I think it is fine and may well settle down onto the shoulder over time.
Now onto the lower shelf. After repeating a similar sequence of steps as shown above, I had the shelf board fitted to the two lower rails:

The lower shelf differs in joinery details from the upper, having dadoes on both sides for connecting uprights. I think the figure on this assembly is going to pop once the finish goes on.
The interesting thing to me with this construction is that, given that the assembly fits within a plank carcase, and the grain of all the parts is the same as the carcase, the fit between the parts can be tight. Normally one would have a gap to allow for seasonal movement, but in this case it can be dispensed with.
The middle of the upper surface is dadoed and accepts a central tenon from the compartment’s vertical divider:

Fitting can then be undertaken:

Down:

The dadoes on the underside are also done, but I haven’t tackled the fitting yet. Had to leave something to do for tomorrow I guess.
That’s it for this round - I hope the above read was of interest.
via Tumblr http://davidpires578.tumblr.com/post/142093485029
No comments:
Post a Comment