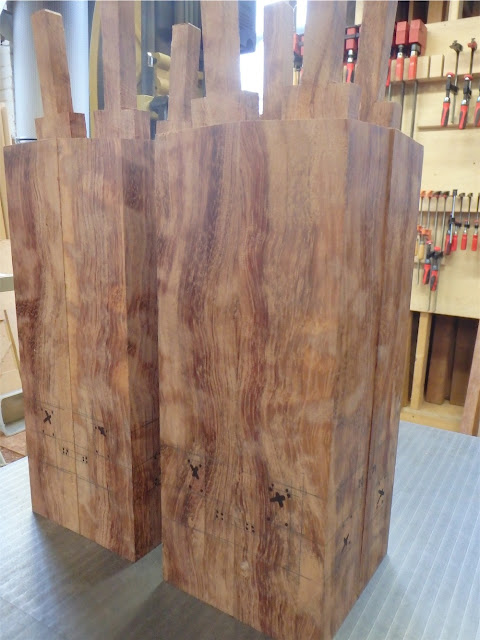
Post 29 in a continuing series.
—————-
I recently learned that some links were absent from the ‘Ming Inspiration’ series of posts from 2009~2010, a 50-post build detailing the construction of a bubinga dining table. Anyone reading the series would find no continuing link on post 6, and that might give the impression that the table was never actually built. Well, the link has now been fixed, and the remainder of posts checked out, so if you tried to read that series at some point in the past and didn’t get past post 6, the course is now clear.
—————-
Continuing on with the cabinet build. Where I last left off with the photos, the tenons on the support stand legs had been rough cut in one axis. Well, a few steps later, the stepped tenons were completed:
Another view:
Then 8 legs were finished to the same point:
I used the sliding table saw to execute the tenon cutting, with some slight adjustments and trimming required afterwards with a chisel:
Then the mortises could be laid out for the stretcher tenons:
I figured out a way to peg this connection, and you can see the tiny 5mm square mortises in the photos.
The connection here is a pair of pegged tenons, which look to be half-lapped but in fact the proportions work out so that the tenon size is actually slightly less than half - those readers familiar with Japanese practice in mortise and tenon joinery with splayed post structures will understand the technical reasons why the tenons are sized as they are, which in fact; given the shouldering on both ends, is the maximum possible size:
For more information on the intricacies of splayed post mortise and tenon work, take a look in any standard Japanese carpentry Layout text, or my own series, The Art of Japanese Carpentry Drawing, Volume 4, where this is explained in great detail.
The layout took a while to complete, and then it was on to punching out the 5x5mm mortises with the hollow chisel mortiser:
Peg mortises done, and, oh yeah, the mortises themselves as well:
The inside faces receive haunched tenons, and here I’m cleaning out an end grain wall to the correct slope:
I am loving these new Kamon chisels.
All eight legs through to the same stage:
Another view:
After that, the legs are fitted to the inverted ’T’ beams:
The stepped tenon shoulder on each tenon sits slightly below the receiving member’s lap surface, to accommodate seasonal movement:
Another view:
Once all the legs were fitted, the associated peg mortises were scribed through to the tenons, leaving the peg mortising on the tenons for another day. That day would be tomorrow come to think of it.
Thanks for visiting the Carpentry Way.
via Tumblr http://davidpires578.tumblr.com/post/138511549679


No comments:
Post a Comment