Post 15 in a continuing series.
————-
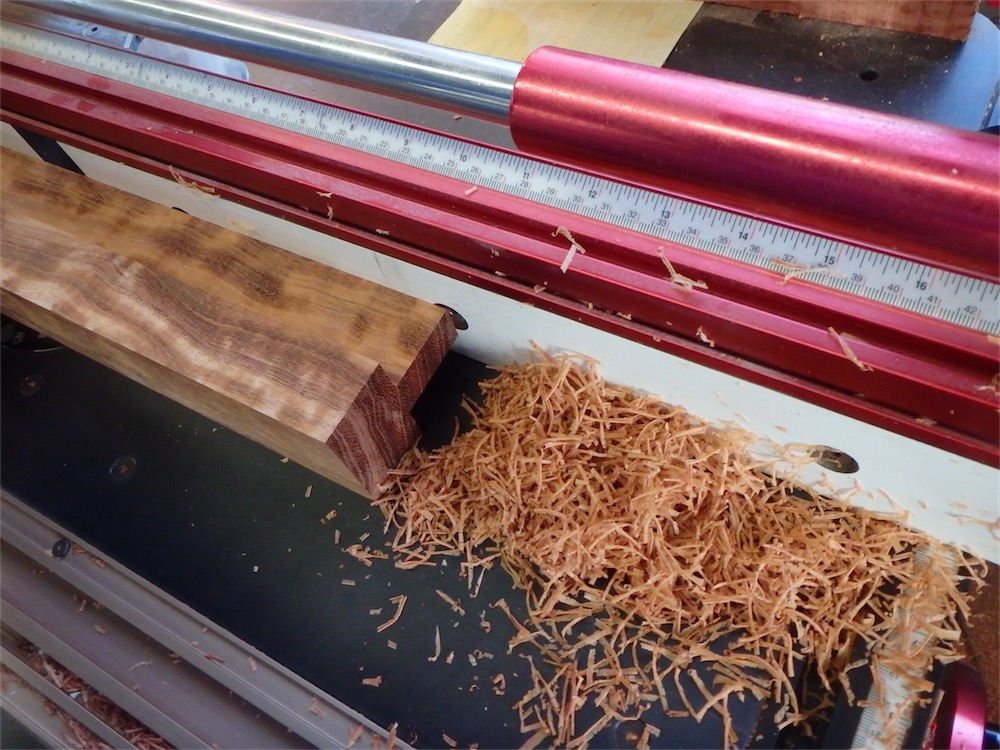
Working now on the carrier beams, a component in the lower support stand of the table. These sticks are of an inverted ’T’ section for improved stiffness. The sticks had already been taken to dimension in most aspects, save for the faces of the stem of the ’T’. I started by hogging a bit of material off on the shaper, using a Zuani ‘Jolly’ multi-purpose cutter, with spur knives removed:

The shaper head, despite sharp fresh insert knives and reasonably large cutting diameter, was inducing a very slight amount of tear out after the first passes were taken, so for finishing passes I moved over to the router table, making peace (piece?) with a new 1.25" bit fitted:

First the head of the ’T’ was trimmed to target dimension of 1.375":

Just another way of making shavings, and no tear out resulted.
Then the stem of the ’T’ was brought to target, which was 0.750":
I left the stock a hair oversize to allow for final dressing prior to finishing.
Once the profiles were complete, i set up my Wadkin dimension saw with a longer cross cut and stop so the long side beams could all be trimmed to the same amount:

Making the cut:

After the cut a clean end grain surface was obtained, which will need only a slight amount of finishing work to complete later on:

The four long-side beams were trimmed to finish length:

The shorter side beams were processed in a similar manner, however this time I was able to make use of a tool I picked up from another seller in Germany and shipped along with the Zimmermann milling machine - a 1000mm Mitutoyo Digimatic caliper:

These longer Mitutoyo calipers are normally priced prohibitively, however this one was only about $300 so I jumped at the opportunity. It comes mounted on a custom aluminum stand to boot, though as one minor drawback it only measures in metric.
Originally, this tool was specifically configured for measuring from a 45˚ miter to another 45˚ miter, and thus there are special pivoting arm members to wrap around miters:

The miter gauge portions can be readily swung aside, so the caliper can be used normally any time. When the time comes I need to measure across two miters this tool will be a godsend.
Here’s one of the short side beams being length checked after cutting:

Target length was 21.30", which works out to 541.02mm. I got pretty close - close enough to decide no further adjustments to the cut length were needed:

The 0.04mm difference amounts to all of 0.0015". That’ll do just fine thanks.
Some would say this sort of work suits me to a ’T’:

Funny enough, those T’s are shaped very much like the font Martin uses.
With the sections to length, a little more layout work got me to the stage where I could miter the stem portions. The Wadkin was set up, and some test cuts made in scrap to dial in the angle. Then the sticks were worked one by one, gauging cut length of the ends:

The resulting cut:

Then I ripped the waste off using my smaller bandsaw. I was left with this tidy pile:

The rip cut had been slightly wide of the line, allowing the mill to come into use again to deck the surfaces clean:

Another view:

Once the end was decked clean, I could do a check to see how the ramped abutments on pillow block and beam met one another:

Enter the dragon:

Looks like it will work:

A glimpse at the finished look of the united parts - of course there will be another beam lapping over top of both pieces so you would have to get down to floor level to take in a similar scene:

Tomorrow I’ll tackle the mitered laps and possibly the mortises as well.
Thanks for tuning in and hope to see you next time on the Carpentry Way. Comments always welcome.
via Tumblr http://davidpires578.tumblr.com/post/134763706809
No comments:
Post a Comment